![CZT [CITI-ZEN-THEORY]](http://czt.rocks/cdn/shop/files/CZT_-_Brand_PINK_Label_1_330x.png?v=1774104725)
![CZT [CITI-ZEN-THEORY]](http://czt.rocks/cdn/shop/t/61/assets/CZT-Fast-Logo---Blue-Grey_330x.png?v=98224836737033641471695502660)
![CZT [CITI-ZEN-THEORY]](http://czt.rocks/cdn/shop/files/CZT_-_Brand_PINK_Label_1_170x.png?v=1774104725)
![CZT [CITI-ZEN-THEORY]](http://czt.rocks/cdn/shop/t/61/assets/CZT-Fast-Logo---Blue-Grey_170x.png?v=98224836737033641471695502660)
How to Take Body Measurements for Custom Streetwear
Before you reach for a tape measure, know exactly what you’re capturing. To take body measurements for a Czt custom order, you need eight core dimensions and a few minutes of focused attention. Record every number in inches (centimeters optional), label each one clearly, and pair them with three photos showing tape placement. That combination is what Czt’s production team needs to cut your piece without a single back-and-forth.
Required measurements for every Czt order:
- Chest/Bust — fullest point, tape parallel to the floor
- Natural Waist — narrowest point, ribbon or elastic marked
- Full Hip — fullest point, roughly 7–9 inches below the waist
- Shoulder Width — tip to tip across the back
- Sleeve Length — shoulder tip to wrist bone, arm slightly bent
- Inseam — crotch to ankle bone
- Neck — base of neck circumference
- Back Waist Length — C7 vertebra to natural waist
Optional but useful: bicep, wrist, thigh. Record your honest body dimensions — do not add ease, because Czt’s patterns already include movement allowance.
At checkout, submit: labeled measurement list, three photos (front, side, back), declared fit preference (tight/standard/oversized), and any posture or proportion notes.
Pro Tip: Snap a photo of your tape measure in place for each circumference. It takes thirty seconds and gives Czt’s team a visual cross-check that no number alone can provide.
Key Takeaways
Accurate garment measurements, submitted with labeled notes and three photos, give Czt’s team everything needed to cut your custom streetwear correctly the first time.
| Point | Details |
|---|---|
| Eight core measurements | Capture chest, waist, hip, shoulder, sleeve, inseam, neck, and back waist length for every order. |
| Measure at least twice | If two readings differ by more than ¼ inch, take a third and use the two closest numbers. |
| Mark reference points | Use a narrow elastic at the waist and adhesive dots at the bust apex and shoulder tips for consistency. |
| Submit with photos and labels | Include front, side, and back photos showing tape placement, plus your declared fit preference. |
| Czt reviews proportions | Czt’s team cross-checks your measurements before cutting, catching discrepancies before they become fit problems. |
Table of Contents
- What tools and reference points do you need before measuring?
- Step-by-step garment measurements, top to bottom
- How do you measure accurately when you’re alone?
- Common fit issues and when to flag them on your order
- How to record and submit your measurements to Czt
- Why getting your measurements right is an act of craft
- Czt’s made-to-measure service fits the way you actually move
- Sources
What tools and reference points do you need before measuring?
Preparation shapes every reading that follows. A stretched or flimsy tape will corrupt every number, so start with a flexible cloth tape measure in good condition. Beyond that, the essential kit is a full-length mirror, a narrow ribbon or elastic to mark your natural waist, a helper when possible, and a phone or notebook to log results immediately.
Dress in form-fitting underlayers — a fitted tank and leggings or bike shorts. Baggy clothes add phantom inches. Go barefoot when measuring any length from the waist down, and stand naturally: weight even, shoulders relaxed, breathing normally. No sucking in, no puffing out.
Marking your reference points
Before the tape touches your body, establish four fixed landmarks. Marking these points with small adhesive dots or a thin elastic produces more consistent readings and lets Czt map your body directly to pattern lines.
- Natural waist: Bend sideways. The crease that forms is your natural waist. Tie a narrow elastic or ribbon there and leave it on for the entire session.
- Bust apex: The fullest point of the bust, roughly at nipple level. Mark with a small dot of tape or a fabric pen.
- Shoulder tips: The bony point where your arm begins to curve away from your torso. Feel for the end of the clavicle.
- C7 vertebra (base of neck): Tilt your head forward. The prominent bone that rises at the back of your neck is C7 — the anchor for back waist length and sleeve length.
Pro Tip: Tie the elastic snugly enough to stay put but not so tight it digs in. A ribbon that shifts mid-session will give you three different waist readings.
Step-by-step garment measurements, top to bottom
Work from the neck down. This order prevents you from repositioning the tape repeatedly and keeps the session under fifteen minutes.
- Neck circumference — Wrap the tape around the base of the neck (at C7 level). Slide one finger between the tape and your skin for comfort allowance. Record the snug-but-not-tight reading.
- Shoulder width — Measure across the back from shoulder tip to shoulder tip. A helper is strongly recommended here so the tape stays parallel to the floor and lands precisely on both bony landmarks.
- Chest/Bust — Keep the tape level across the back and under the armpits, then bring it around to the fullest point of the bust. Breathe normally. Record the measurement at the end of a normal exhale.
- High bust/Underbust — For a full-bust adjustment note, measure directly under the bust where the bra band sits. This helps Czt grade the bodice correctly if your bust-to-shoulder ratio is outside standard range.
- Natural waist — Read the elastic or ribbon you tied earlier. The tape should be snug, not compressing.
- High hip — About 3–4 inches below the natural waist. Useful for fitted silhouettes and skate pants.
- Full hip — The widest point of the hips and seat, typically 7–9 inches below the natural waist. Keep the tape parallel to the floor all the way around.
- Back waist length — From C7 straight down the spine to the natural waist elastic. Stand tall.
- Sleeve length — From the shoulder tip, over a slightly bent elbow (roughly 15°), down to the wrist bone. The bend is deliberate: it builds in the movement allowance a straight-arm measurement misses.
- Bicep — Wrap the tape around the fullest part of the upper arm, relaxed. Add a small comfort allowance for ease.
- Wrist — At the wrist bone. Snug.
- Inseam — From the crotch seam to the ankle bone. Easier with a helper; the solo method is covered in the next section.
- Outseam (optional) — From the natural waist to the ankle along the outer leg. Useful for wide-leg or cargo silhouettes.
| Measurement | Tape placement | Posture cue |
|---|---|---|
| Chest/Bust | Fullest point, level across back | Normal exhale, arms relaxed |
| Natural Waist | Narrowest point, elastic marked | Standing tall, not sucked in |
| Full Hip | Widest point, 7–9 in below waist | Weight evenly distributed, feet together |
| Shoulder Width | Tip to tip across back | Shoulders relaxed, not raised |
| Sleeve Length | Shoulder tip to wrist bone | Arm slightly bent (~15°) |
| Inseam | Crotch to ankle bone | Barefoot, standing straight |
Pro Tip: Keep horizontal measurements parallel to the floor and vertical lines perpendicular to it. A tape that dips at the back will read shorter than reality and produce a garment that gaps at the front.
How do you measure accurately when you’re alone?
Solo measuring is entirely workable with a few deliberate techniques. The mirror is your proxy helper: position yourself in front of a full-length mirror so you can watch the tape’s angle and level as you work. For circumferences, pin the tape’s zero end to your clothing at the starting point, wrap around, and read the crossing number in the mirror.
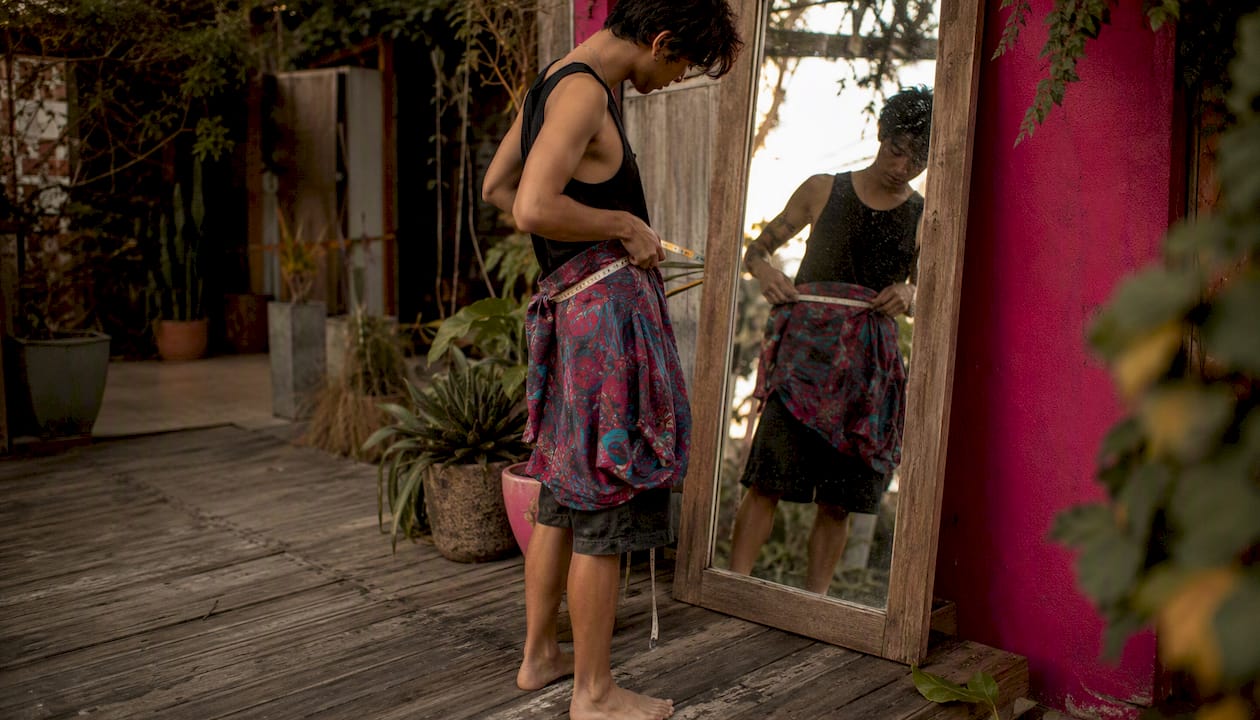
For inseam, the most reliable solo method is to measure a well-fitting pair of trousers flat — lay them on a flat surface, fold along the inseam, and measure from crotch seam to hem. Alternatively, step on the tape’s end at the floor, pull it taut up to the crotch, and read the number. Both approaches work; the flat-garment method tends to be more consistent.
Shoulder width solo is the hardest measurement. Place a ruler or a straight stick across your upper back at shoulder height, mark where each shoulder tip falls with a piece of tape, then measure between the marks. It takes an extra step, but the result is far more reliable than guessing.
Accuracy protocol
Take each measurement at least twice, ideally three times. If two readings differ by more than ¼ inch (about 0.6 cm), take a third and use the two closest numbers. Average them. This protocol catches tape-angle errors and posture shifts that a single reading will never reveal.
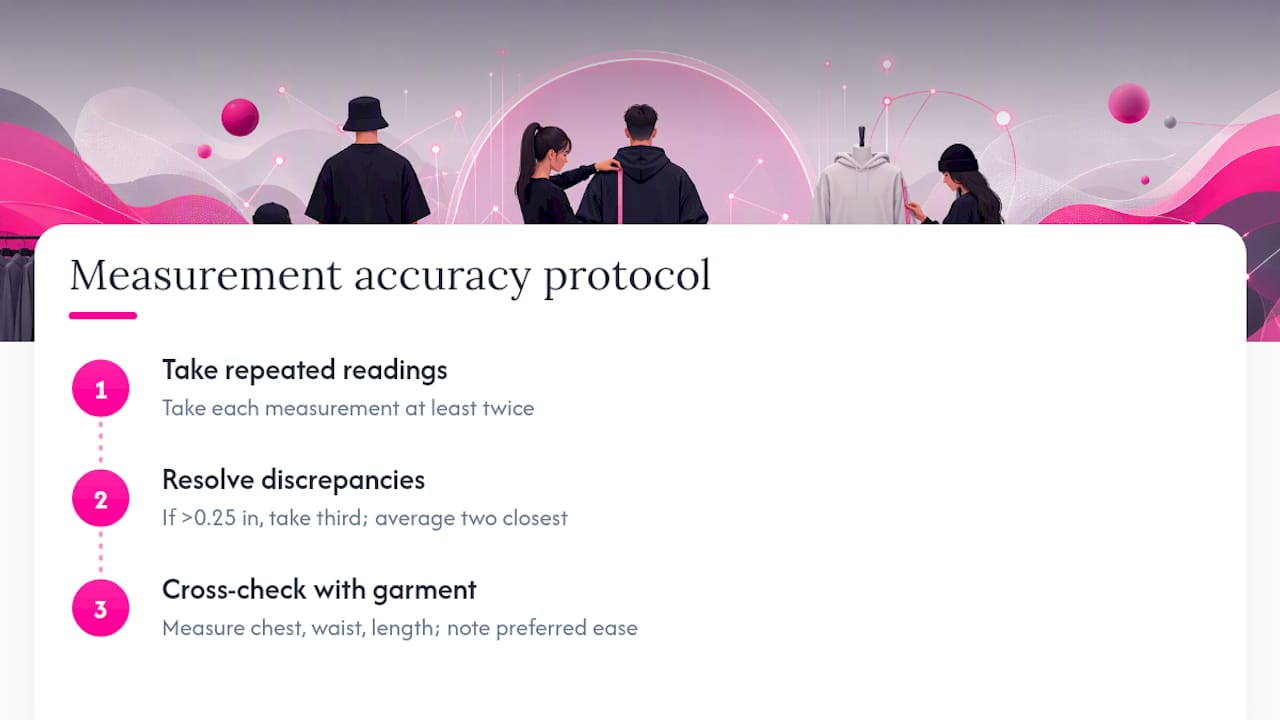
Pro Tip: After recording all your numbers, measure a garment you love the fit of — lay it flat and measure chest, waist, and length. Compare those numbers to your body measurements. If the garment’s chest measures 2 inches wider than your body, that’s your preferred ease. Note it on your Czt order.
Common fit issues and when to flag them on your order
Certain fit problems appear often enough in custom orders that knowing them in advance saves a revision cycle.
- Tight biceps: If your bicep reads within ½ inch of the finished sleeve opening on a standard pattern, add a note: “+1 in bicep ease.” Skate and streetwear silhouettes often call for more room here anyway.
- Full-bust discrepancy: If your full bust measures more than 2 inches larger than your high bust, note “+FBA needed” on the order. Czt will grade the front bodice accordingly.
- Narrow seat or high hip: If your hip-to-waist ratio is pronounced, note both the high hip and full hip measurements. Grading between sizes at the hip prevents pulling across the seat.
- Forward shoulders: If you notice your shoulders naturally roll forward, note it. This affects sleeve cap placement and can cause pulling across the upper back.
- Length changes: Petite or tall customers should note their back waist length and inseam relative to standard sizing and request a length adjustment explicitly.
For significant discrepancies — a bust-to-shoulder ratio outside standard range, or a hip-to-waist difference greater than 12 inches — Czt recommends booking a measurement consultation before production begins. For specifying fit preferences in detail, Czt’s guide walks through every adjustment type.
Pro Tip: When in doubt, add a note rather than stay silent. A single line like “right shoulder sits slightly lower” gives Czt’s pattern team context that no measurement number conveys.
How to record and submit your measurements to Czt
Clarity at submission time eliminates the most common source of production delay. Format each entry like this:
- Chest — 38 in (96.5 cm) — fullest point; measured with helper
- Natural Waist — 29 in (73.7 cm) — elastic marked; measured alone
- Full Hip — 41 in (104.1 cm) — 8 in below waist; measured alone
Submission checklist:
- Labeled measurements in inches (centimeters optional but appreciated)
- Three photos: front, side, back — each showing tape placement at the relevant point
- Declared fit preference: tight / standard / oversized
- Any posture notes, asymmetry flags, or special requests
- Photo filenames: use a simple convention like
firstname_chest_front.jpgso Czt’s team can match photos to measurements instantly
For photo naming, keep it descriptive and consistent. Czt’s team reviews dozens of orders; a clear filename like alex_hip_back.jpg routes directly to the right measurement without guesswork.
To book a measurement review or consultation, visit Czt’s custom couture page and select the consultation option at checkout or through the contact form. Czt’s team will cross-check your proportions, flag any discrepancies, and confirm before cutting begins.
Why getting your measurements right is an act of craft
There is something deeply intentional about the act of measuring carefully before commissioning a garment — a quality that resonates with everything we believe at Czt. When you submit accurate measurements, you are not simply filling out a form. You are participating in a process that honors both the material and the maker, one that traces its lineage back to the ateliers where a single bolt of fabric was treated as something precious, not disposable.
Made-to-measure clothing, by its nature, reduces textile waste because every cut is intentional. There are no overruns, no unsold units, no garments destined for a landfill because a size medium fit no one quite right. When measurements are accurate the first time, there are no remakes, no excess fabric consumed in corrections. The environmental math is straightforward: precision at the measurement stage means less waste at every stage that follows.
We built Czt’s custom couture service around this conviction. Our recycled-material collections, including the Botanic Camo line, already carry a reduced environmental footprint from the fiber up. Accurate measurements extend that ethic into the fit itself, producing a piece that wears longer, fits better, and means more — because it was made specifically for the body wearing it.
Czt’s made-to-measure service fits the way you actually move
Czt’s custom couture service is built for customers who want a garment that fits their body and their ethos — not a size chart’s approximation of either. When you submit your labeled measurements, photos, and fit preferences, Czt’s production team reviews your proportions before cutting begins, flagging discrepancies and confirming details so your piece arrives right the first time.
Measurement consultations are available for customers who want a guided review before placing an order. During a consultation, Czt checks your submitted numbers against standard pattern proportions, identifies any adjustments needed (full-bust allowance, sleeve ease, length grading), and confirms your fit preference. All garments are produced from recycled materials, so every accurate measurement directly reduces material waste. To get started with your personalized streetwear order, visit Czt’s site and select your custom couture option at checkout.
Sources
- How to take body measurements for sewing (SewingWithEase)
- How To Measure Yourself for Clothes: Complete Guide (Nathan Tailors)
- How to take your own measurements (Closet Core Patterns)
- Essential measuring points for fitting a pattern (Threads Magazine)
- How to Take Accurate Body Measurements for Clothing Design (Seft)
Recommended
- How to Specify Fit Preferences for Custom Garments – CZT [CITI-ZEN-THEORY]
- Best Custom Embroidery Clothing for Sustainable Couture – CZT [CITI-ZEN-THEORY]
- Personalized Streetwear Looks: 9 Bold Style Examples – CZT [CITI-ZEN-THEORY]
- What Is Custom Couture Streetwear: A Style Guide – CZT [CITI-ZEN-THEORY]